
Ever stared at a still photo and thought, “What if this was a flickering masterpiece instead?” Well, grab your camera and let’s dive into the magical realms of stop-motion and hyperlapse photography! From essential gear to capturing breathtaking shots, I’ll reveal the secrets that transform your ordinary images into dazzling animations and creative motion sequences. Ready to unleash your inner animator? Stick around, and let’s turn those frozen moments into a lively spectacle that even your selfies would envy!
2. Understanding the Basics of Stop-Motion Animation
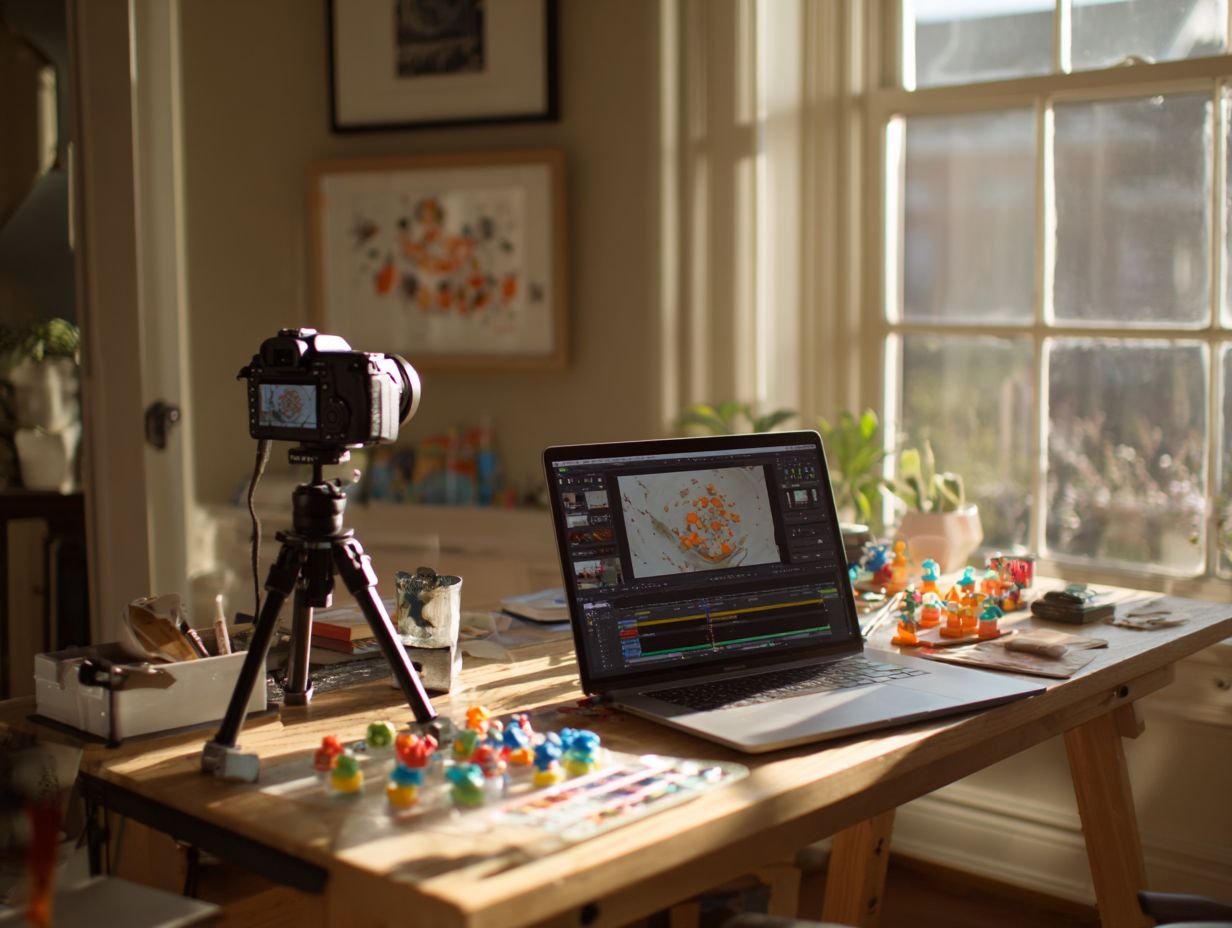
Let’s dive into the enchanting world of Stop-Motion, peeling back the layers one frame at a time with my trusty step-by-step guide on this fantastic animation technique.
First things first, I need to gather my tools of the trade: a camera (DSLR or my handy smartphone if I’m feeling adventurous), a sturdy tripod that won’t wobble like a newborn deer, and a workspace that’s brighter than my future. These are essential for capturing high-quality frames and ensuring smooth object movement.
Next, it’s time to channel my inner artist and plan my scenes. I whip out my sketchbook and storyboard my masterpiece, figuring out the movement sequences like I’m directing the next blockbuster. This step is crucial for effective visual storytelling and scene composition.
Once I’ve got my objects in place, I take that all-important first shot. Then comes the fun part: I nudge them just a smidge, snap a new frame, and repeat like a caffeinated squirrel. It takes a bit of patience, but soon enough, I’ll be creating motion smoother than a well-oiled machine.
When it’s time to edit, I turn to my favorite software like Dragonframe or iStopMotion. These tools help me compile my frames and sprinkle in some sound magic, enhancing the overall narrative with a fitting soundtrack and voiceover.
Sure, this whole adventure might eat up several hours of my life, but in the end, I emerge with a captivating animation that’s worth every minute of my time.
3. Essential Equipment for Stop-Motion Projects
Choosing the right tools for my animation project is like picking the perfect outfit for a first date-get it wrong, and it could all go downhill fast. So, let’s dive into the must-have gear, including props, lighting, and sound equipment.
When I’m on the hunt for animation tools, I keep three critical components in mind: cameras, lighting, and props.
- For cameras, I’ve found that the Canon EOS Rebel T7 is as friendly as a puppy for beginners, while the Sony Alpha a6400 struts in with superior image quality, but it’ll cost me a pretty penny. These cameras ensure excellent frame capture and image sequence quality.
Now, when it comes to lighting, the Neewer 660 LED Video Light is like a dimmer switch for my creativity-it lets me adjust the brightness to fit whatever vibe I’m going for. On the other hand, the Godox SL-60W is my reliable buddy when I need consistent lighting, no surprises there.
And let’s not forget about props! Using miniature models can add a delightful layer of depth to my scenes. Every decision I make influences the final output, so I’ve got to carefully weigh my budget and project needs like a tightrope walker with a balancing pole.
4. Getting Started with Hyperlapse Techniques
Capturing time as it flows is like trying to catch smoke with your bare hands-tricky, but hyperlapse makes it possible, if you watch your step. Novices often find themselves battling shaky footage like a toddler trying to walk on a tightrope.
Choosing the right interval is like picking the perfect slice of pizza; too quick and it’s a mess, too slow and it’s boring. I’ve found shooting every 2-5 seconds strikes that glorious balance. This technique helps in creating compelling visual narratives.
Choosing the right interval is like picking the perfect slice of pizza; too quick and it’s a mess, too slow and it’s boring. I’ve found shooting every 2-5 seconds strikes that glorious balance.
For editing, I dive into Adobe Premiere Pro, where I can adjust playback speed and give my shaky footage the stabilizing magic it desperately craves.
And let’s not forget lighting! Filming during golden hour is like sprinkling fairy dust on my visuals, turning my final product into something truly captivating.
5. Key Differences Between Stop-Motion and Hyperlapse Animation
Both techniques are like magic tricks that just leave me in awe, but what’s the real difference? Let’s jump right in!
The main distinction lies in how they tell a story. Visual storytelling, with its charming photos and captivating videos, sweeps you off your feet, wrapping you in an emotional narrative through motion graphics and visual effects. On the flip side, infographic storytelling is all about that clarity and quick comprehension, serving up data and information like a well-organized buffet.
Take, for example, a photo essay that beautifully captures a stunning landscape, versus an infographic that lays out eye-opening statistics about climate change. It’s like comparing a romantic movie to a detailed documentary-both have their charm!
By mixing these techniques, I can tug at the heartstrings while delivering the facts, using tools like Canva for slick infographics or Adobe Lightroom to make my photos pop. Now that’s a storytelling combo that’s hard to beat!
6. Planning Your Stop-Motion Animation Project
Every great animation starts with a solid plan-kind of like a well-cooked souffl; if you skip the recipe, it’s just going to flop.
First up, I outline my story arc: I kick things off with the main theme and pinpoint those key moments that will make my audience go, “Wow!” Then it’s time to break the narrative into three acts-think of it as my animation’s three-course meal: setup, confrontation, and resolution. This approach ensures a well-structured visual flow and dynamic storytelling.
Next, for each act, I jot down specific scenes and the emotions I want to pack into them. I’m a big fan of using tools like Celtx for scriptwriting-a lifesaver for keeping my thoughts from spiraling into chaos-and Trello to organize my scenes into a visual board that even a squirrel could follow. Effective use of these tools enhances the planning and production phases.
And let’s not forget the rough sketches! I sketch out each scene to visualize character movements and backgrounds, ensuring everything flows like a smooth jazz solo.
This methodical approach not only lays a strong foundation for my animation but also cranks up my creativity and efficiency to a whole new level. Who knew planning could be this much fun?
7. Tips for Capturing Great Stop-Motion Animation Shots
To whip up some jaw-dropping stop-motion animations, I’ve learned that mastering the capture process is non-negotiable-so here are my secret sauces for success.
First off, let’s talk lighting. Consistency is key, and while natural light is lovely, it can be as unpredictable as a cat on a caffeine high. So, I swear by softbox lights to keep everything looking uniform and fabulous. Proper lighting is crucial for achieving the desired visual aesthetics in each frame.
Next, I make sure my camera is on a sturdy tripod because camera shake is about as welcome as a mosquito at a barbecue. To eliminate any wobbling, I also use a remote shutter release-because who wants their masterpiece looking like a jittery mess?
In terms of capturing frame-by-frame magic, I rely on nifty software like Dragonframe or Stop Motion Studio. These gems let me preview frames in real-time, so I can tweak things on the fly.
By sticking to these tips, I’m leveling up my stop-motion game in no time!
8. Editing Your Stop-Motion Animation with Software
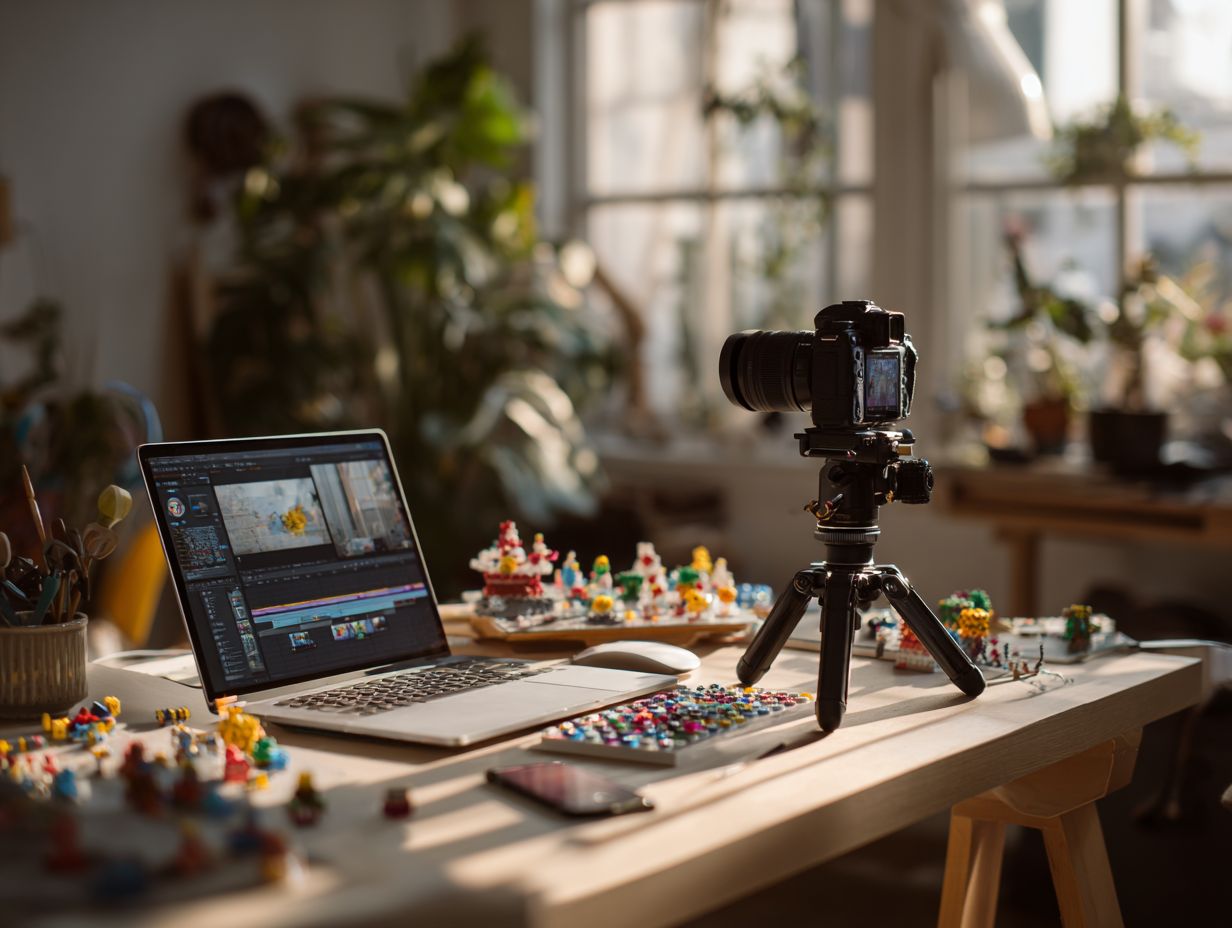
Once I’ve captured my frames, the real party kicks off in the editing room-are you ready to roll with me?
First things first, I need to pick an editing software that matches my needs. If I’m just starting out, iMovie is like my new best friend-easy to use and free on Mac, perfect for those simple cuts and transitions.
But if I’m feeling adventurous and ready to take it to the next level, Adobe Premiere Pro is the beast I want to tackle. Sure, it comes with a bit of a learning curve and a subscription fee, but hey, greatness comes at a price, right? Additionally, DaVinci Resolve is excellent for color grading, ensuring your frames have the perfect visual tone.
As I dive into the editing process, I keep my eye on pacing. Trimming unnecessary footage is key to keeping my audience from dozing off. And let’s not forget about color correction! DaVinci Resolve is my go-to for making the visuals pop like a firework show. Using the right editing techniques enhances the overall quality of the animation.
And I can’t overlook the audio-layered tracks are my secret weapon for adding depth and ensuring the dialogue cuts through like a hot knife through butter. Let the editing magic begin!
9. Software Options for Stop-Motion and Hyperlapse Projects
Navigating the software jungle can feel like swimming with sharks-let’s slice through the chaos and uncover the best tools out there.
First things first, I need to pinpoint my specific needs. If I’m managing a project, Trello is my trusty sidekick with its snazzy visual Kanban board, perfect for keeping my tasks in line. But if my workflow is more complex than a soap opera plot twist, Asana’s timeline feature swoops in to save the day.
In terms of collaboration, Slack is my go-to, effortlessly integrating with a ton of other tools for real-time chat that feels like I’m just hanging out with my team, minus the awkward small talk.
And if I’m feeling budget-conscious, I can’t ignore Google Workspace, which generously offers free goodies like Docs and Sheets for team collaboration.
In the end, it’s all about figuring out which features fit my workflow like a glove so I can boost my productivity and tackle my tasks like a boss.
10. Common Mistakes to Avoid in Stop-Motion Animation
I’ve watched countless newcomers stumble into the same traps, and trust me, avoiding these mistakes can save a mountain of time and frustration!
One classic blunder? Underestimating project scope-it’s the perfect recipe for rushed work and missed deadlines. To avoid turning into a frantic chicken with its head cut off, I break tasks into manageable phases and whip out tools like Trello to keep my project on a tight leash. Proper planning and organization are key to successful frame composition and timeline management.
Then there’s the sneaky pitfall of neglecting user feedback. I’ve learned that regularly collecting insights through surveys can seriously refine my approach, turning my projects from “meh” to “wow” in no time.
Oh, and let’s not forget the chaos that comes from failing to document processes in animation projects. Without clear guidelines, confusion reigns supreme. That’s why I love leveraging systems like Notion or Google Docs to keep everything organized and ensure a smooth workflow and clear creative process.
By tackling these areas head-on, I’ve leveled up my productivity and ensured my workflow is smoother than a buttered slide.
11. How to Create a Storyboard for Your Animation Project
Imagine this: a sleek roadmap for your animation that navigates every shot and scene with precise frame composition.
How do I whip that up? Let’s dive into the magical world of storyboarding!
First things first, I grab my trusty sketchpad or hop on my computer to sketch out the major scenes. Tools like Storyboarder or Canva are my secret weapons, making it a breeze to arrange visuals, frames per second, and toss in some snazzy dialogue right on those frames.
I treat each panel like a mini-movie moment, packing in all the juicy details like character actions, frame capture, and camera angles. Sticky notes become my best friends as I scribble down quick ideas for transitions or eye-popping effects.
As I polish up my storyboard, I constantly ask myself how each scene keeps the narrative train chugging along, enhancing the visual storytelling.
This little exercise not only helps me visualize the story but also gears me up for the thrill ride of production.
12. What is the Ideal Frame Rate for Stop-Motion?
Frame rate is like the secret sauce for your animation-too little, and it’s a clunky mess; too much, and you might just confuse your audience with the visual flow.
So, what’s the magic number?
Typically, animations strut their stuff at 24, 30, or 60 frames per second (FPS). At 24 FPS, my animations can channel their inner film star with that cinematic vibe, perfect for storytelling but not exactly the smoothest ride for fast-paced action.
Then there’s 30 FPS, which adds a nice buttery motion that works wonders for video content. And let’s not forget 60 FPS-now that’s where the gaming magic happens, giving players an ultra-responsive experience that feels like they’re in the thick of the action.
I love to experiment with these frame rates. I’ll whip out 24 FPS for my narrative projects, letting the story breathe, and crank it up to 60 FPS for those adrenaline-pumping action sequences.
Trust me, tweaking that frame rate can dramatically change how viewers feel about movement and pacing, impacting the entire motion and scene transition-kind of like choosing between a leisurely stroll and a full-on sprint!
13. Exploring Creative Techniques in Hyperlapse and Timelapse
Ready to take my hyperlapse and stop-motion skills to the next level? Let’s jump into some creative techniques that are sure to leave my audience in awe.
-
First up, there’s the ‘reveal shot.’ I start with a scene that’s partially hidden, then pull back to unveil the full spectacle. It’s like a magic trick-nobody sees it coming, and the suspense? Pure gold.
-
Next, I love to play with speed and time manipulation. Zooming through bustling city streets can create a fantastic contrast with those slow, tranquil nature clips. Plus, tools like Adobe Premiere Pro and other editing software are my trusty sidekicks, letting me fine-tune the speed and pull off seamless transitions like a pro.
-
And let’s not forget about angles and framing! Experimenting with different perspectives and frame composition adds that extra layer of depth to my narrative, turning each hyperlapse into its own unique visual story. Who wouldn’t want to see that?
14. How to Choose the Right Location for Your Shoot
The right location can totally elevate my animation and cinematography game-so what do I need to think about?
First things first, I dive into the aesthetics. It’s all about making sure the backdrop vibes with my animation style and artistic expression. I mean, a lively urban scene is perfect for those fast-paced animations, while a tranquil nature spot is just begging for a calm, soothing narrative.
Then there’s the lighting-my secret weapon! Natural light during that golden hour is like the icing on the cake for visuals. But I’ve got to keep my options open for those indoor shoots too, especially considering lighting and equipment setup, so I’ll have some artificial lighting tricks up my sleeve.
And let’s not forget about accessibility! I want my locations to be easy to reach and set up so I’m not left twiddling my thumbs. A quick look at Google Maps helps me gauge travel times and accessibility. This way, I can keep the shooting process smooth and ensure my visual storytelling packs a punch!
15. Lighting Tips for Stop-Motion and Hyperlapse Photography
Lighting is like the secret sauce of animation-everyone knows it’s important, but not enough people give it the spotlight it deserves. So, what’s the magic behind it, you ask? Let’s dive into some key techniques to unleash the power of lighting in my animations.
- First off, I swear by three-point lighting: I start with the key light to throw some illumination into the mix, then add fill light to soften those pesky shadows, and finally, I use backlight to add that much-coveted depth. It’s like giving my characters a nice little glow-up!
- Next, I love to play around with color temperature and lighting techniques. Warm hues? They’re like a cozy blanket for the eyes. Cool tones? They bring the tension, like waiting for the punchline of a joke.
- And let’s not forget about tools like Blender’s Eevee Renderer, which let me simulate realistic lighting without making my computer cry over long rendering times.
- Oh, and dynamic lighting changes? Absolutely! A little subtle shift here and there can totally change the mood and keep viewers on their toes.
So, I’m diving in and starting to incorporate these techniques right away to elevate my animation projects, enhancing visual dynamics.
Bring on the light!
16. Sharing Your Work: Platforms and Communities
So, you’ve whipped up your masterpiece-now how do you strut your stuff for the world to see? First things first, get your work out there on platforms like Behance and ArtStation, which are basically the VIP lounges for animators.
Don’t forget to craft a snazzy portfolio on Vimeo to showcase your video content and mingle with the animation crowd on Reddit, discussing creative techniques and video production, especially in r/animation, where you can snag feedback and chat with fellow creators.
To really crank up the engagement, regular posting is key-think of it as your daily exercise for visibility. Dive into discussions and team up on projects like a creative Avengers squad.
And let’s not ignore those hashtags! Using relevant ones on social media platforms like Instagram and Twitter can catapult your work to new audiences. Oh, and joining Facebook groups dedicated to animation? That’s like adding rocket fuel to your exposure and opening doors to potential job opportunities.
Who knew sharing your art could be such a wild ride?
17. Resources for Further Learning in Animation and Digital Media
The adventure of learning is like a never-ending rollercoaster ride-thrilling and full of surprises! Let’s dive into some treasure troves of resources to level up my skills.
To supercharge my learning experience, I’ve got a few trusty sidekicks:
- First up, ‘Atomic Habits’ by James Clear-this gem is like a cheat code for forming good habits.
- Then there are platforms like Coursera and Udemy, which are basically the buffet of online courses, serving up a delicious variety of skills at prices that won’t break the bank.
- I can’t forget about hopping into communities like Reddit’s r/learnprogramming or LinkedIn groups-it’s like having a study group that never ends, complete with peer support and knowledge sharing!
- And for those moments when I just want to soak up wisdom about video editing and cinematography while I’m on the go, podcasts like ‘The Tim Ferriss Show’ are like a backstage pass to tips and tricks from industry experts.
With these resources in my arsenal, staying informed and engaged is just part of the fun!
How does frame rate affect the final animation?
What’s in a frame? Oh, just about everything! Frame rate is like the secret sauce that makes my animation come to life.
Measured in frames per second (FPS), the frame rate is a game-changer when it comes to how motion is perceived.
Take 24 FPS, for instance-this is the classic choice for films, giving that cinematic vibe and making everything look just a smidge blurred and oh-so-realistic.
Then there’s 30 FPS, the darling of TV broadcasts, which serves up a smoother image but can sometimes feel a bit too polished, like it’s trying a little too hard at the prom.
Now, if I really want to kick things up a notch, I go for 60 FPS, especially in video games. It’s like the rollercoaster of frame rates-super fluid and perfect for showcasing those rapid movements that make my heart race.
Choosing the right frame rate isn’t just about aesthetics; it’s about keeping viewers on the edge of their seats, enhancing excitement, and diving deep into immersive storytelling.
What are the best practices for frame rate selection?
Selecting the right frame rate can be as daunting as picking a favorite child, but let’s make it a breeze with some best practices.
For my animations, I usually go with the classic 24 frames per second (fps) to give that cinematic vibe-talk about smooth moves!
If I’m feeling extra fancy and want a more fluid look, I bump it up to 30 fps, which is the go-to for TV shows and snazzy online videos. Now, if I’m aiming for a quirky, choppy aesthetic-think stop-motion magic-I might dial it down to 12 fps.
I love using software like Adobe After Effects or Blender to play around with these settings. My usual starting point is 24 fps for most animation styles, and then I tweak it until I get the perfect vibe for my project. Who knew frame rates could be fun?
Frequently Asked Questions
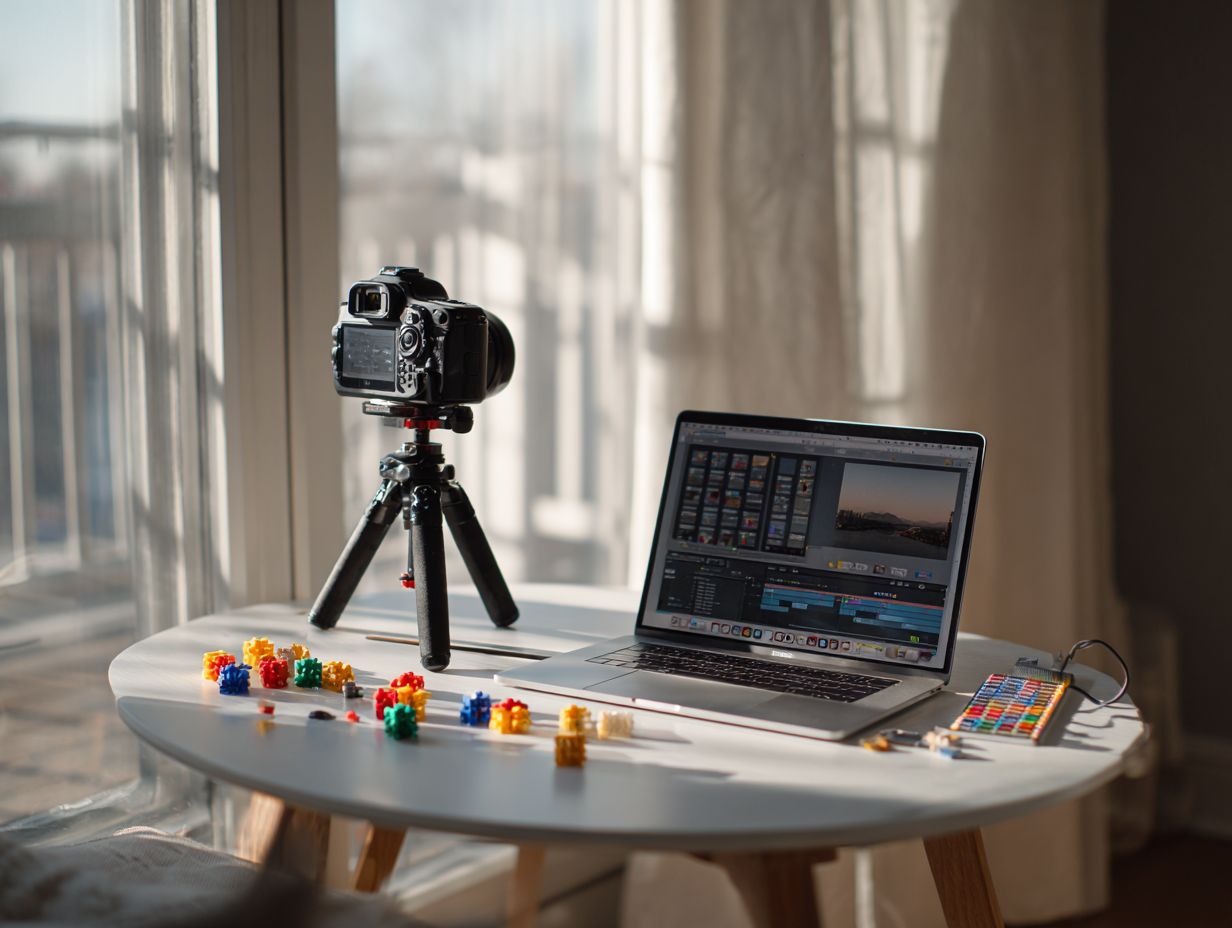
What is Stop-Motion and Hyperlapse?
Stop-Motion and Hyperlapse are techniques used in photography and videography to create the illusion of movement in still photos, enhancing your cinematography skills and artistic vision. Stop-Motion involves taking a series of photos, with slight changes in each frame, and then combining them to create a fluid motion. Hyperlapse, on the other hand, involves taking a series of photos while moving the camera between shots, creating a smooth time-lapse effect.
What equipment and tools do beginners need to create Stop-Motion and Hyperlapse?
You will need a camera, tripod, and a remote shutter release to create Stop-Motion and Hyperlapse, ensuring effective stabilization and capture of scenes. A camera with manual settings and a sturdy tripod are essential for capturing stable and high-quality shots, facilitating digital storytelling and precise frame composition. A remote shutter release will also come in handy to avoid any camera movement while taking photos.
How do I set up my camera for Stop-Motion and Hyperlapse techniques?
To set up your camera for Stop-Motion, set it to manual mode and adjust the exposure, ISO, and shutter speed, focusing on lighting and composition. For Hyperlapse, set the camera to time-lapse mode and adjust the interval and number of shots. It is recommended to use a wide aperture for Hyperlapse to capture a smooth time-lapse effect.
What are some creative ideas for using Stop-Motion and Hyperlapse?
The possibilities are endless with Stop-Motion and Hyperlapse, offering vast creative techniques and storytelling opportunities! You can create a time-lapse of a bustling cityscape, a flower blooming, or a sunrise. With Stop-Motion, you can bring inanimate objects to life by creating a stop-motion animation. You can also use these techniques to capture travel adventures and create a unique and dynamic travel video.
Do I need any special software to edit my Stop-Motion and Hyperlapse photos?
There are several free and paid software options available for editing Stop-Motion and Hyperlapse photos, such as Adobe Premiere Pro, Final Cut Pro, and iMovie, which are excellent for video production and digital animation. Some cameras also come with built-in editing features for creating Stop-Motion and Hyperlapse. You can also use smartphone apps like Lapseit or Hyperlapse to create and edit your photos on the go.
What are some tips for creating high-quality Stop-Motion and Hyperlapse photos?
To create high-quality Stop-Motion and Hyperlapse photos, make sure your camera is stable and in a secure position, use a remote shutter release, and have a clear vision of what you want to capture, embracing artistic expression and effective motion capture. It is also essential to choose a consistent and appropriate interval for taking photos and to have a smooth camera movement for Hyperlapse. Lastly, have fun and be creative with your shots!
Curious about how top creators combine mindset, tech, and workflow? Explore Kthorn Bloom — a digital hub devoted to dissecting what makes great content truly magnetic.
For a deep dive into process over luck, read “The Art of Digital Magnetism: Why Great Content Is Never an Accident” — a breakdown of lighting, framing, and editing choices that turn good ideas into standout posts.
Love creator spotlights with a craft-first lens? Check out Spotlight on Local Talent: Hawai‘i for mood-driven shoots, natural light strategy, and location-savvy storytelling from island creatives.